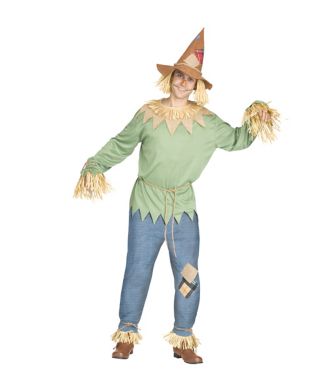
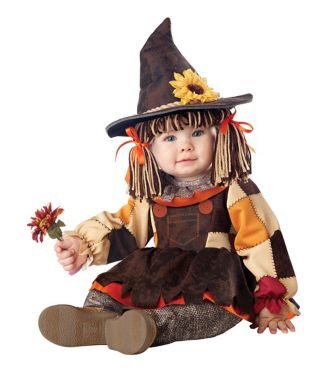
Looking for a fun DIY project to get yourself in the Halloween mood? Spooky szn is here and we have the perfect idea for you! Building your own scarecrow is the best way to keep intruders out of your garden and give your neighbors a good scare this Halloween. You can also keep this scarecrow up for every season and change its look to match the vibe. Just follow these simple steps and you’ll have your very own garden guardian!
What You Will Need
- Hammer
- Nails
- Scissors
- Old clothes (Flannel and jeans)
- Old shoes (Boots or sneakers)
- Twine
- Hay
- (2) 6 Ft. garden stakes
- Pillowcase
- Markers or paint
- Hat (Optional)
Setting Up the Frame
- Insert one of the garden stakes horizontally through both sleeves of the shirt.
- Lay another garden stake on top, pointing vertically.
- Make sure there are about 12 extra inches of wood above where the stakes cross (These 12 inches will be used for the head).
- Button up the shirt.
- Drive two nails through the area where the stakes cross and through the shirt.
- Drive the vertical stake into the ground firmly so that the scarecrow frame is standing up. You may need a hammer to do this.
Building the Top Half of Your Scarecrow
- Tie off the bottom of the shirt with twine so that none of the hay will fall out. Do the same with both sleeves.
- Leave a couple of buttons undone so you can easily fill the shirt with hay.
- Be sure to really stuff the shirt so that it’ll look nice and full.
Building the Bottom Half of Your Scarecrow
- You need to fill the pants with hay before attaching them to your scarecrow.
- Begin by tying off both pant legs with twine. Then start stuffing them with hay.
- To attach the pants to your scarecrow, tie some twine to the left and right belt loops of the pants. Make sure that the twine can reach over the scarecrow’s horizontal stake.
- The twine will act as suspenders, holding the pants on your scarecrow’s shoulders.
- Give your scarecrow feet by stuffing the pant legs into an old pair of boots or sneakers!
Creating the Head
- Fill the pillowcase with hay and tie it to the next of the scarecrow with twine (where the 12 inches of extra stake is).
- Once attached, shape the hay to look like a head! You can add a face with markers, paint, or whatever you prefer. You can add hair by gluing on yarn or you can just give him a hat.
And just like that, you’ve made your very own scarecrow. Wasn’t that easy? Now you’ll have one of the most memorable Halloween decorations in the neighborhood! Make sure to check out our site for any Halloween costume or décor needs and to follow our blog for more DIY tips. Most importantly, have a safe and happy Halloween!


